


Wedding Photography Tips, Inspiration, and Real Weddings
Wedding Planning Advice & Photography Tips, Real Weddings from Southwest Florida Couples, and Behind-the-Scenes Content
Looking for a topic in particular?
Where Photography Is Headed And Why I'm Not Using Generative AI
Photographer vs. Videographer: How to Choose the Right Coverage for Your Wedding
Trying to decide between a wedding photographer or videographer? Learn the key differences, what each captures, and how to choose the option that best preserves your wedding memories. Make a confident decision you won’t regret.
5 Questions to Ask Before Hiring Your Wedding Filmmaker
Hiring a wedding filmmaker is about more than just a camera. From style and audio setup to how many shooters are needed, asking the right questions ensures your wedding film captures emotion, story, and unforgettable moments exactly how you want them.
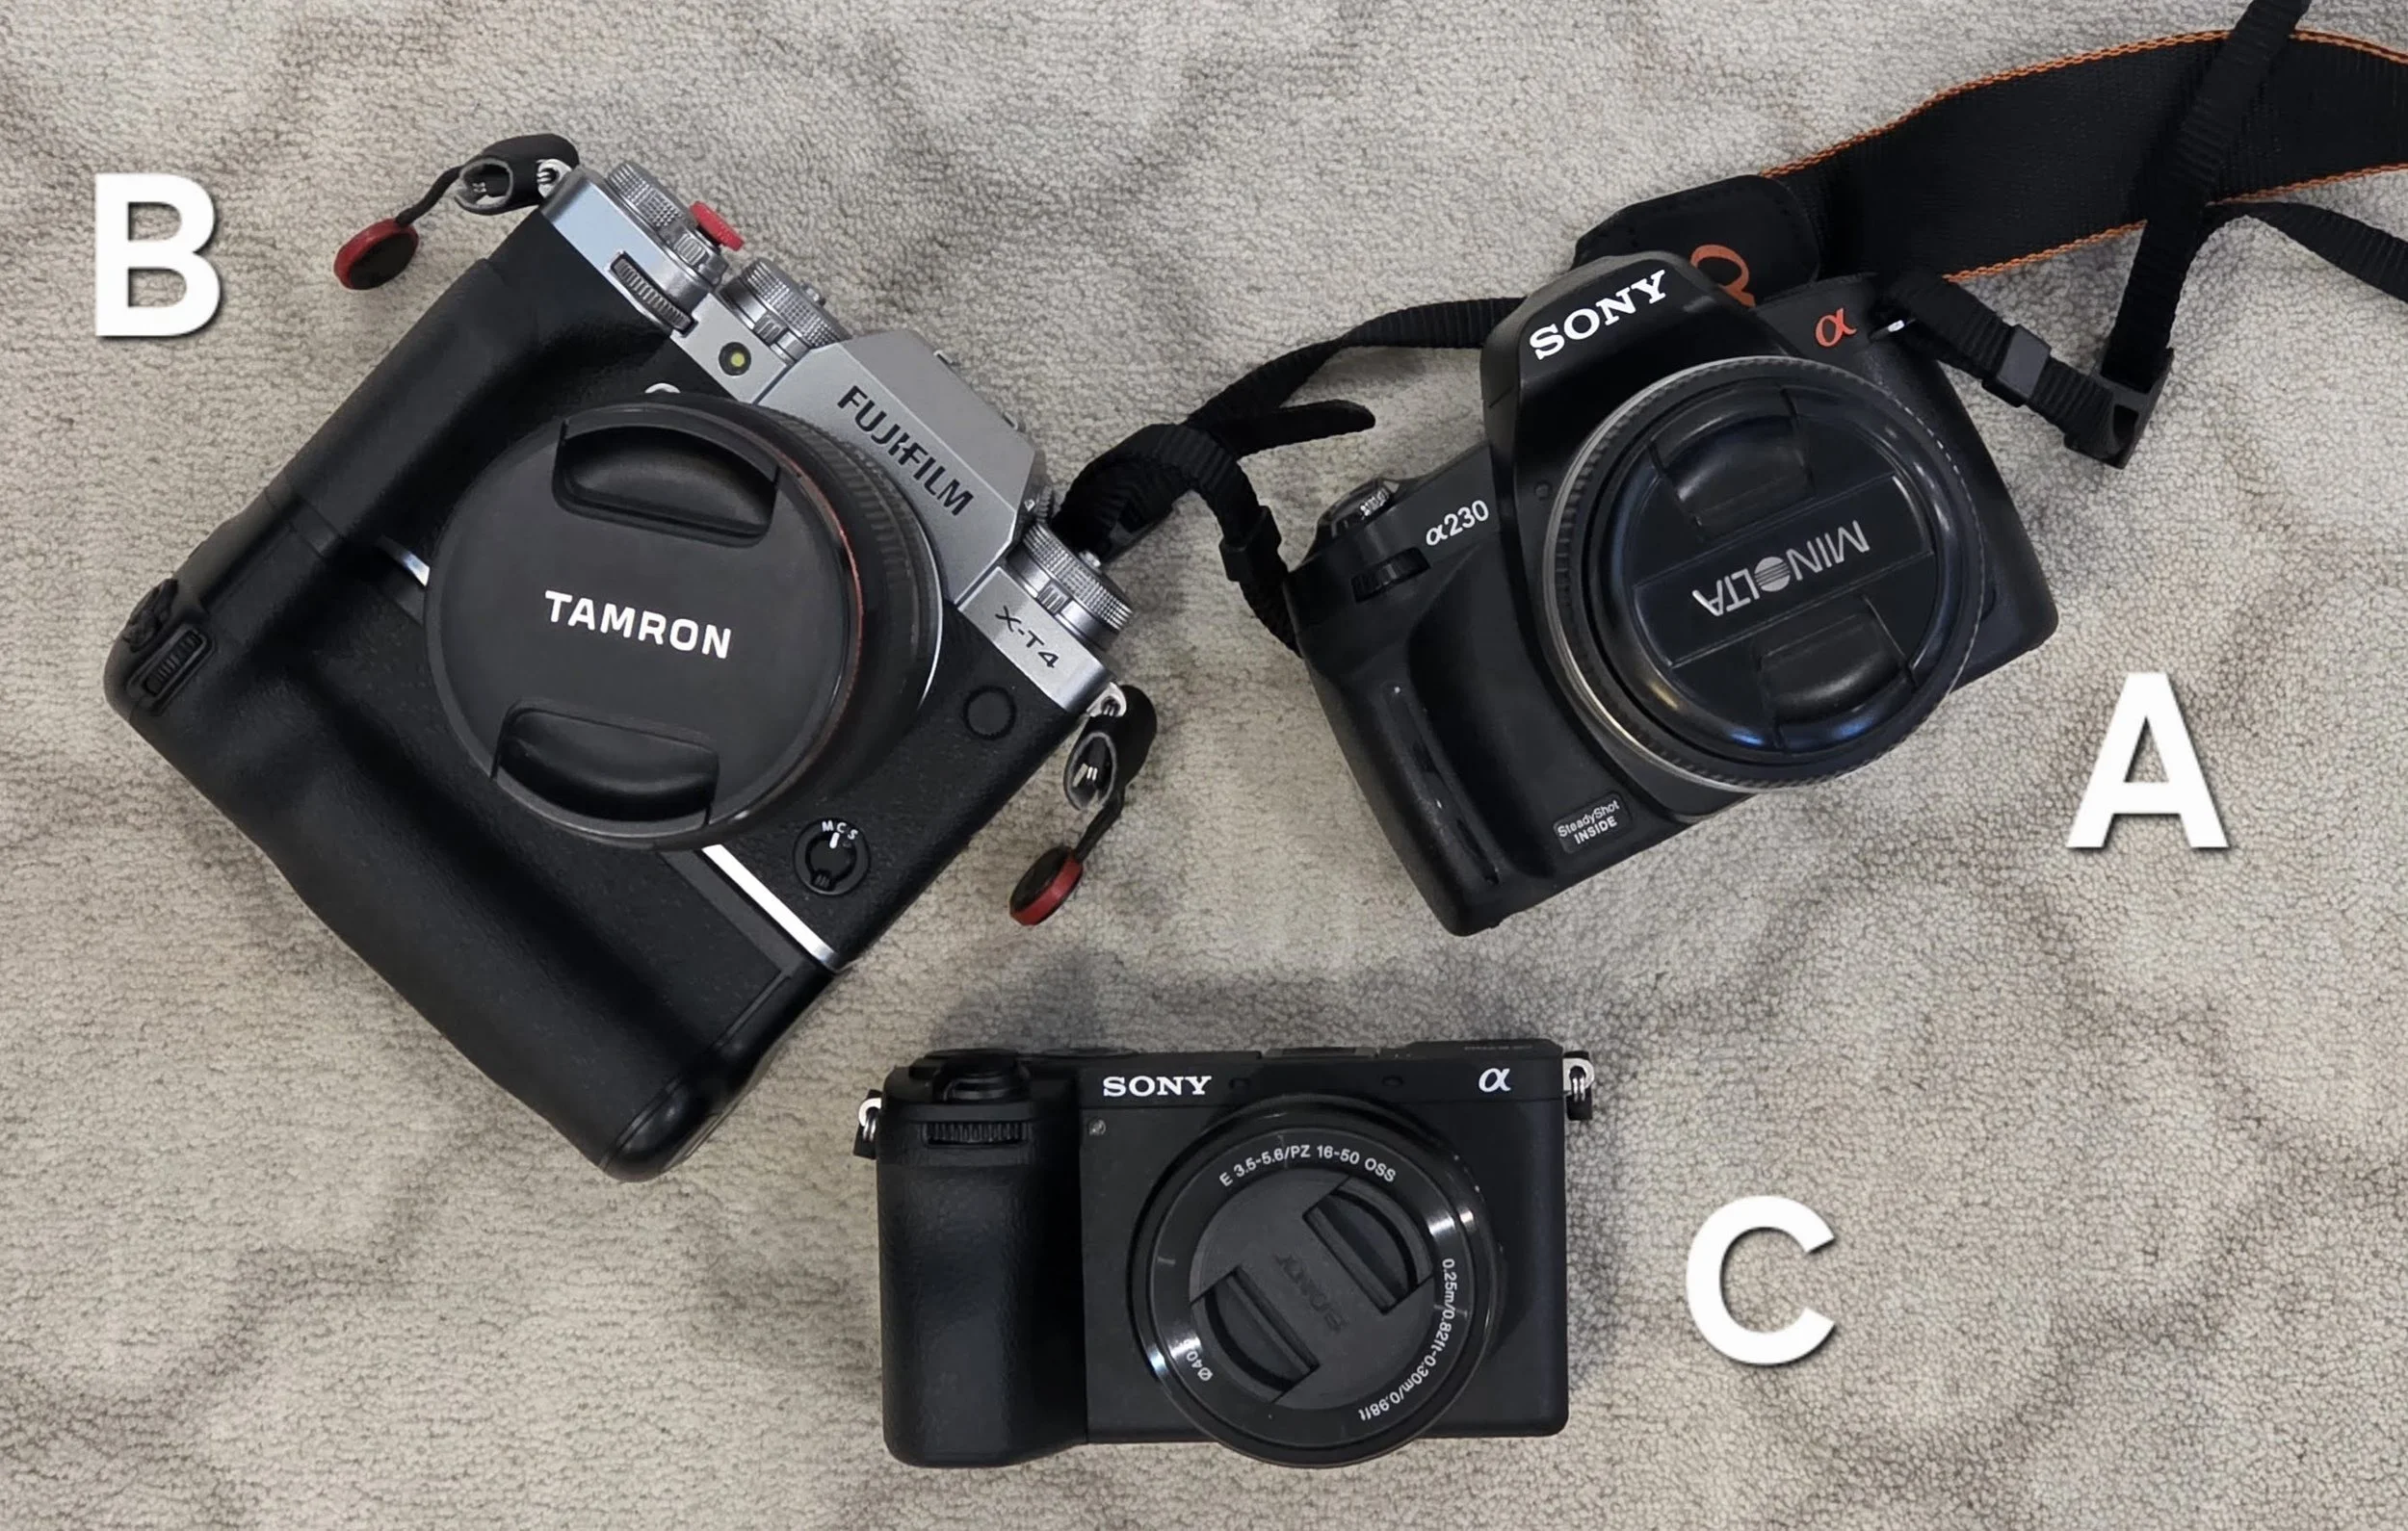
A 16‑Year Gap: An Unbiased Three‑Way Camera Comparison
How much better are modern cameras, really? I put a 16-year-old Sony A230 with 30-year-old Minolta glass up against a Fuji X-T4 and Sony A6700 in real-world shooting scenarios—from low light to harsh Florida sun. The results challenge gear hype, expose color science differences, and prove that lenses still matter more than bodies.
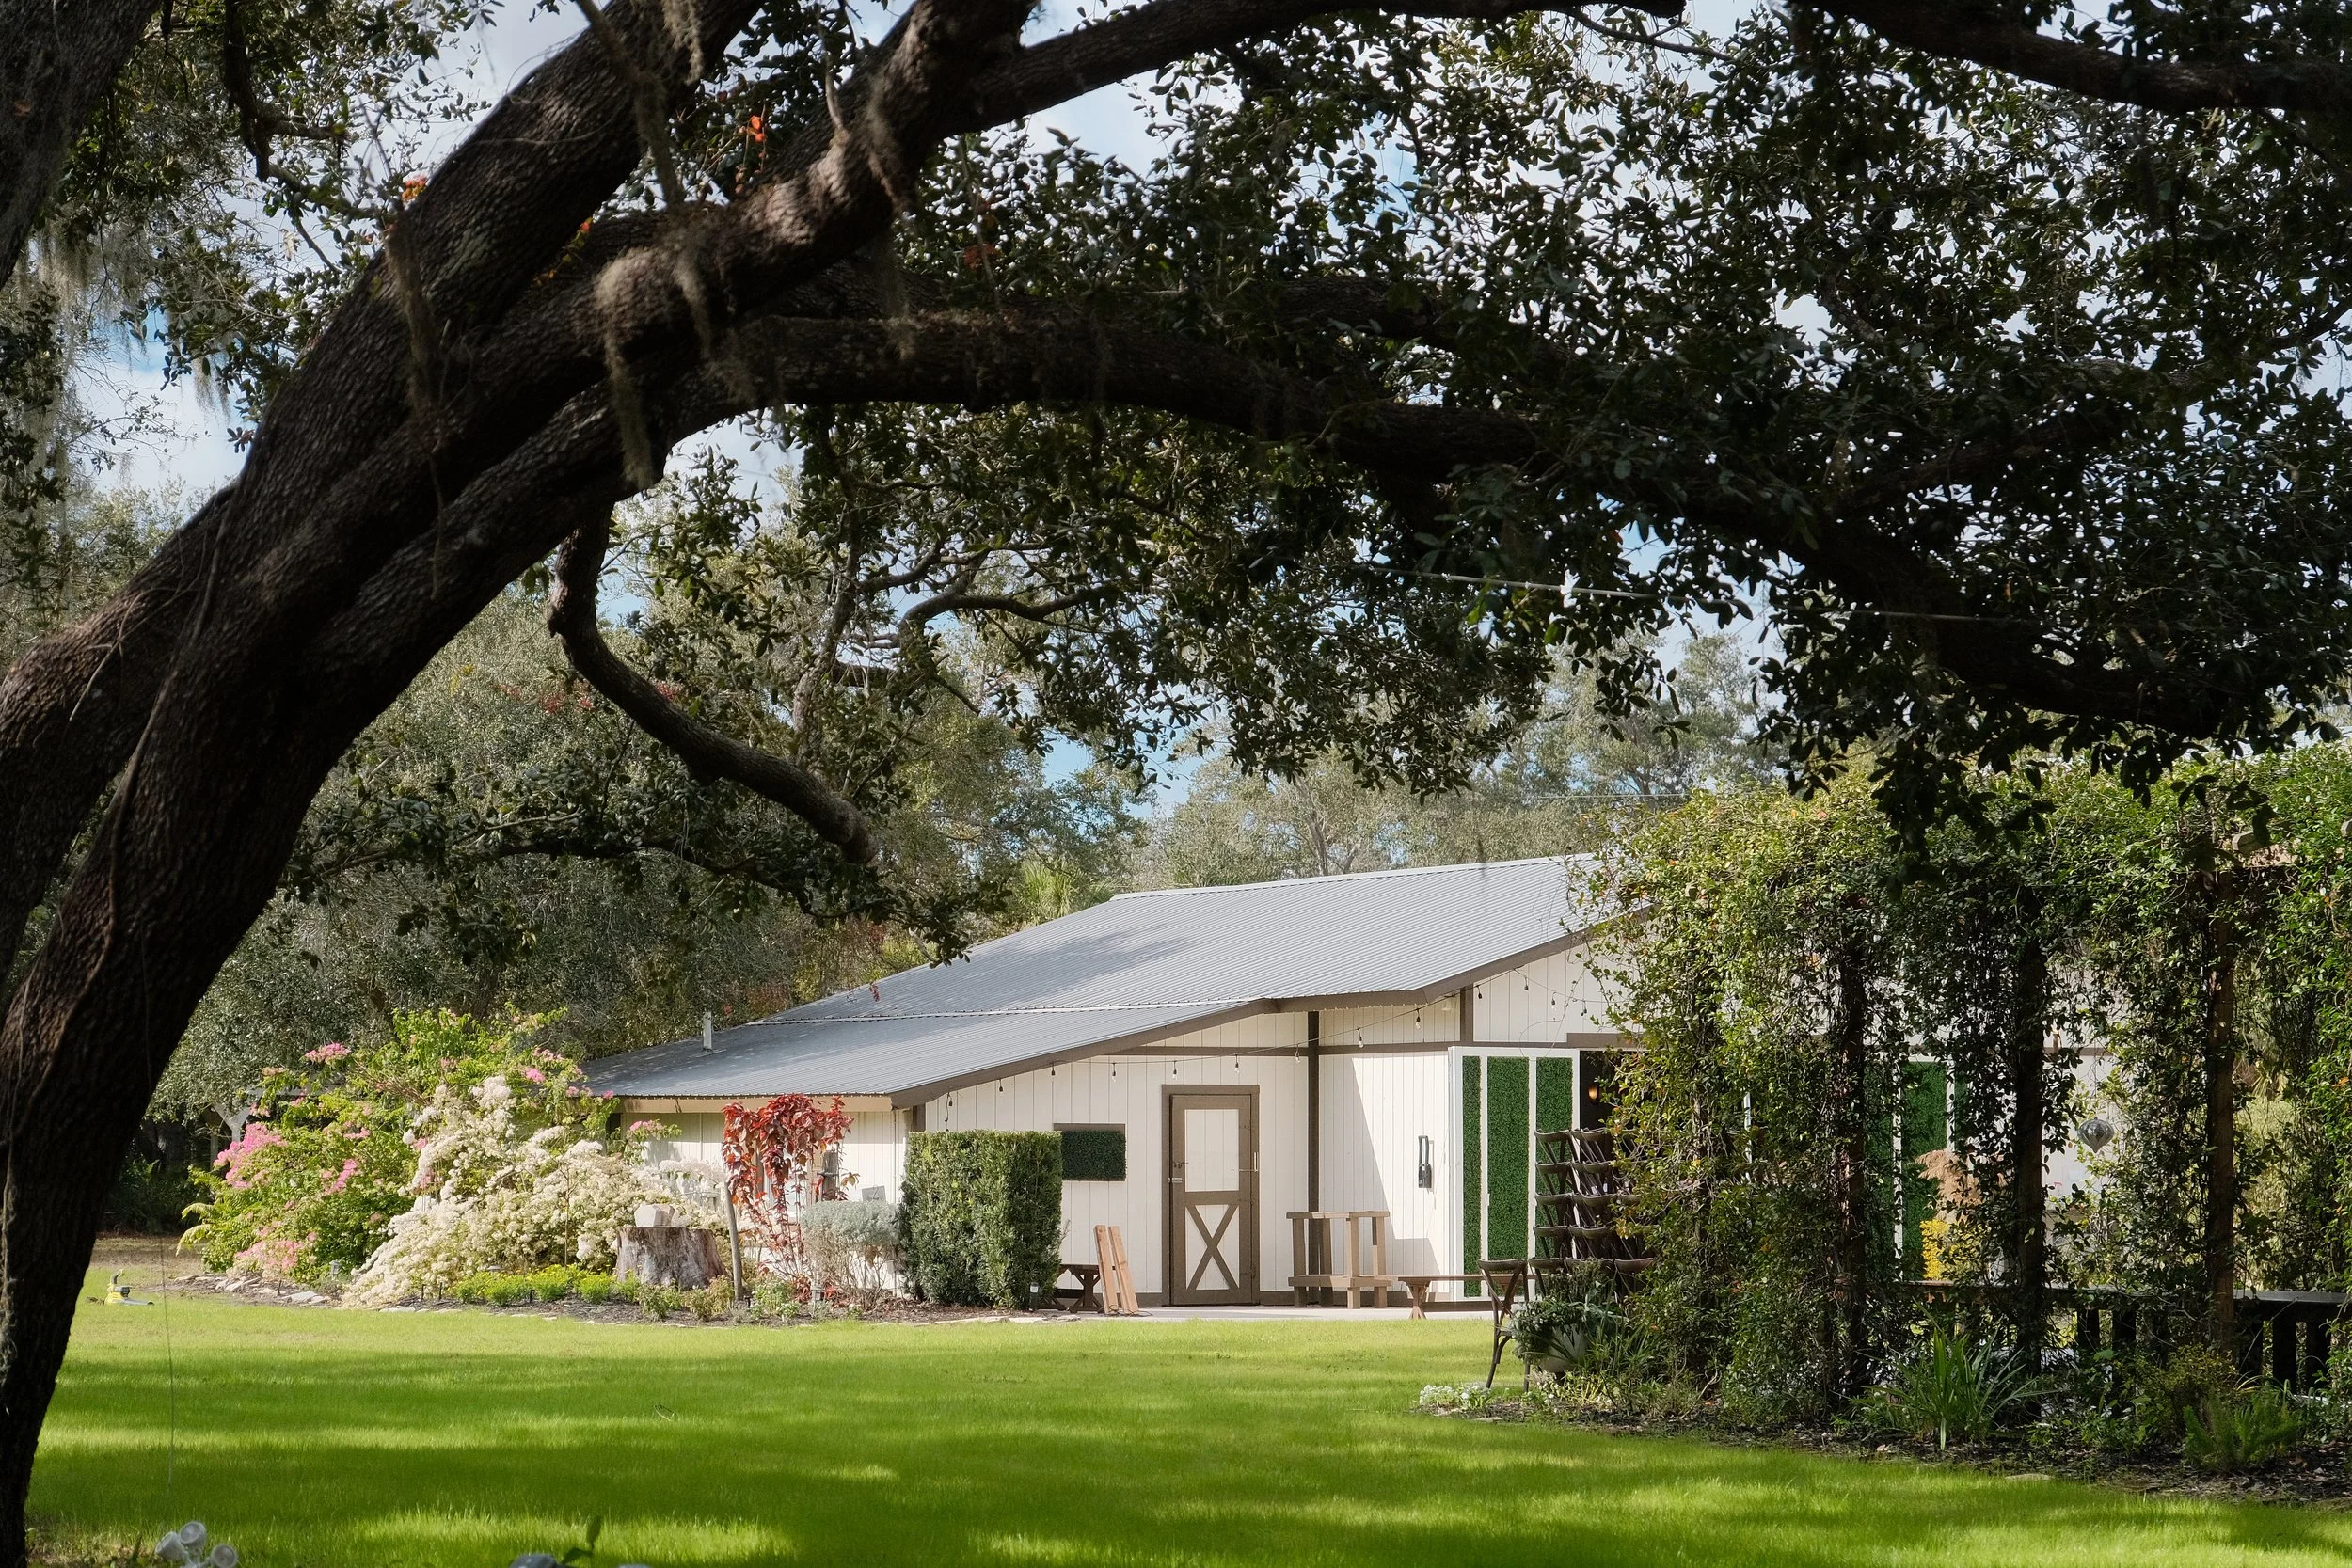
Top Wedding Venues in Venice, Florida: Local Picks from a Photographer and Videographer
Looking for a wedding venue in Venice, Florida that feels a little less traditional and a lot more you? Whether you’re dreaming of a beachfront ceremony, a garden celebration, a modern lakeside reception, or even a wedding with a sporty twist, the Venice area has no shortage of incredible options. As someone who lives here and knows these venues firsthand, I put together this local guide to help you find a space that fits your style, your guest list, and your vision. Think of this as insider advice from a friend who knows the area well and wants your wedding day to feel effortless, personal, and unforgettable.
Choosing the Right Wedding Photography Style for 2026–2027
Your wedding photos should feel as meaningful years from now as they do on your wedding day. In 2026–2027, couples are gravitating toward photography styles that prioritize storytelling, emotion, and timeless artistry over stiff poses or passing trends. From candid, documentary moments to cinematic and editorial imagery, choosing the right style is about finding what truly reflects you. In this guide, I break down the most popular wedding photography styles and help you decide which one fits your vision best.

Your Complete Wedding Day Photography Checklist for 2026–2027
Your wedding day moves fast, but your photos are what preserve every meaningful moment. A well-planned photography checklist helps ensure nothing is missed — from quiet morning details to the final send-off at night. In this guide, I’m sharing my complete wedding day photography checklist for 2026–2027 so you can plan with confidence and walk away with images that tell the full story of your day.

The Ultimate Wedding Photography Timeline: How to Plan Your Day in 2026–2027
Your wedding day moves quickly, but a well-planned photography timeline ensures every meaningful moment is captured without feeling rushed. From quiet getting-ready moments to golden hour portraits and the final send-off, a clear timeline helps your day flow smoothly while allowing space for candid, emotional photos. This guide walks you through how to plan a wedding photography timeline for 2026–2027 with confidence.

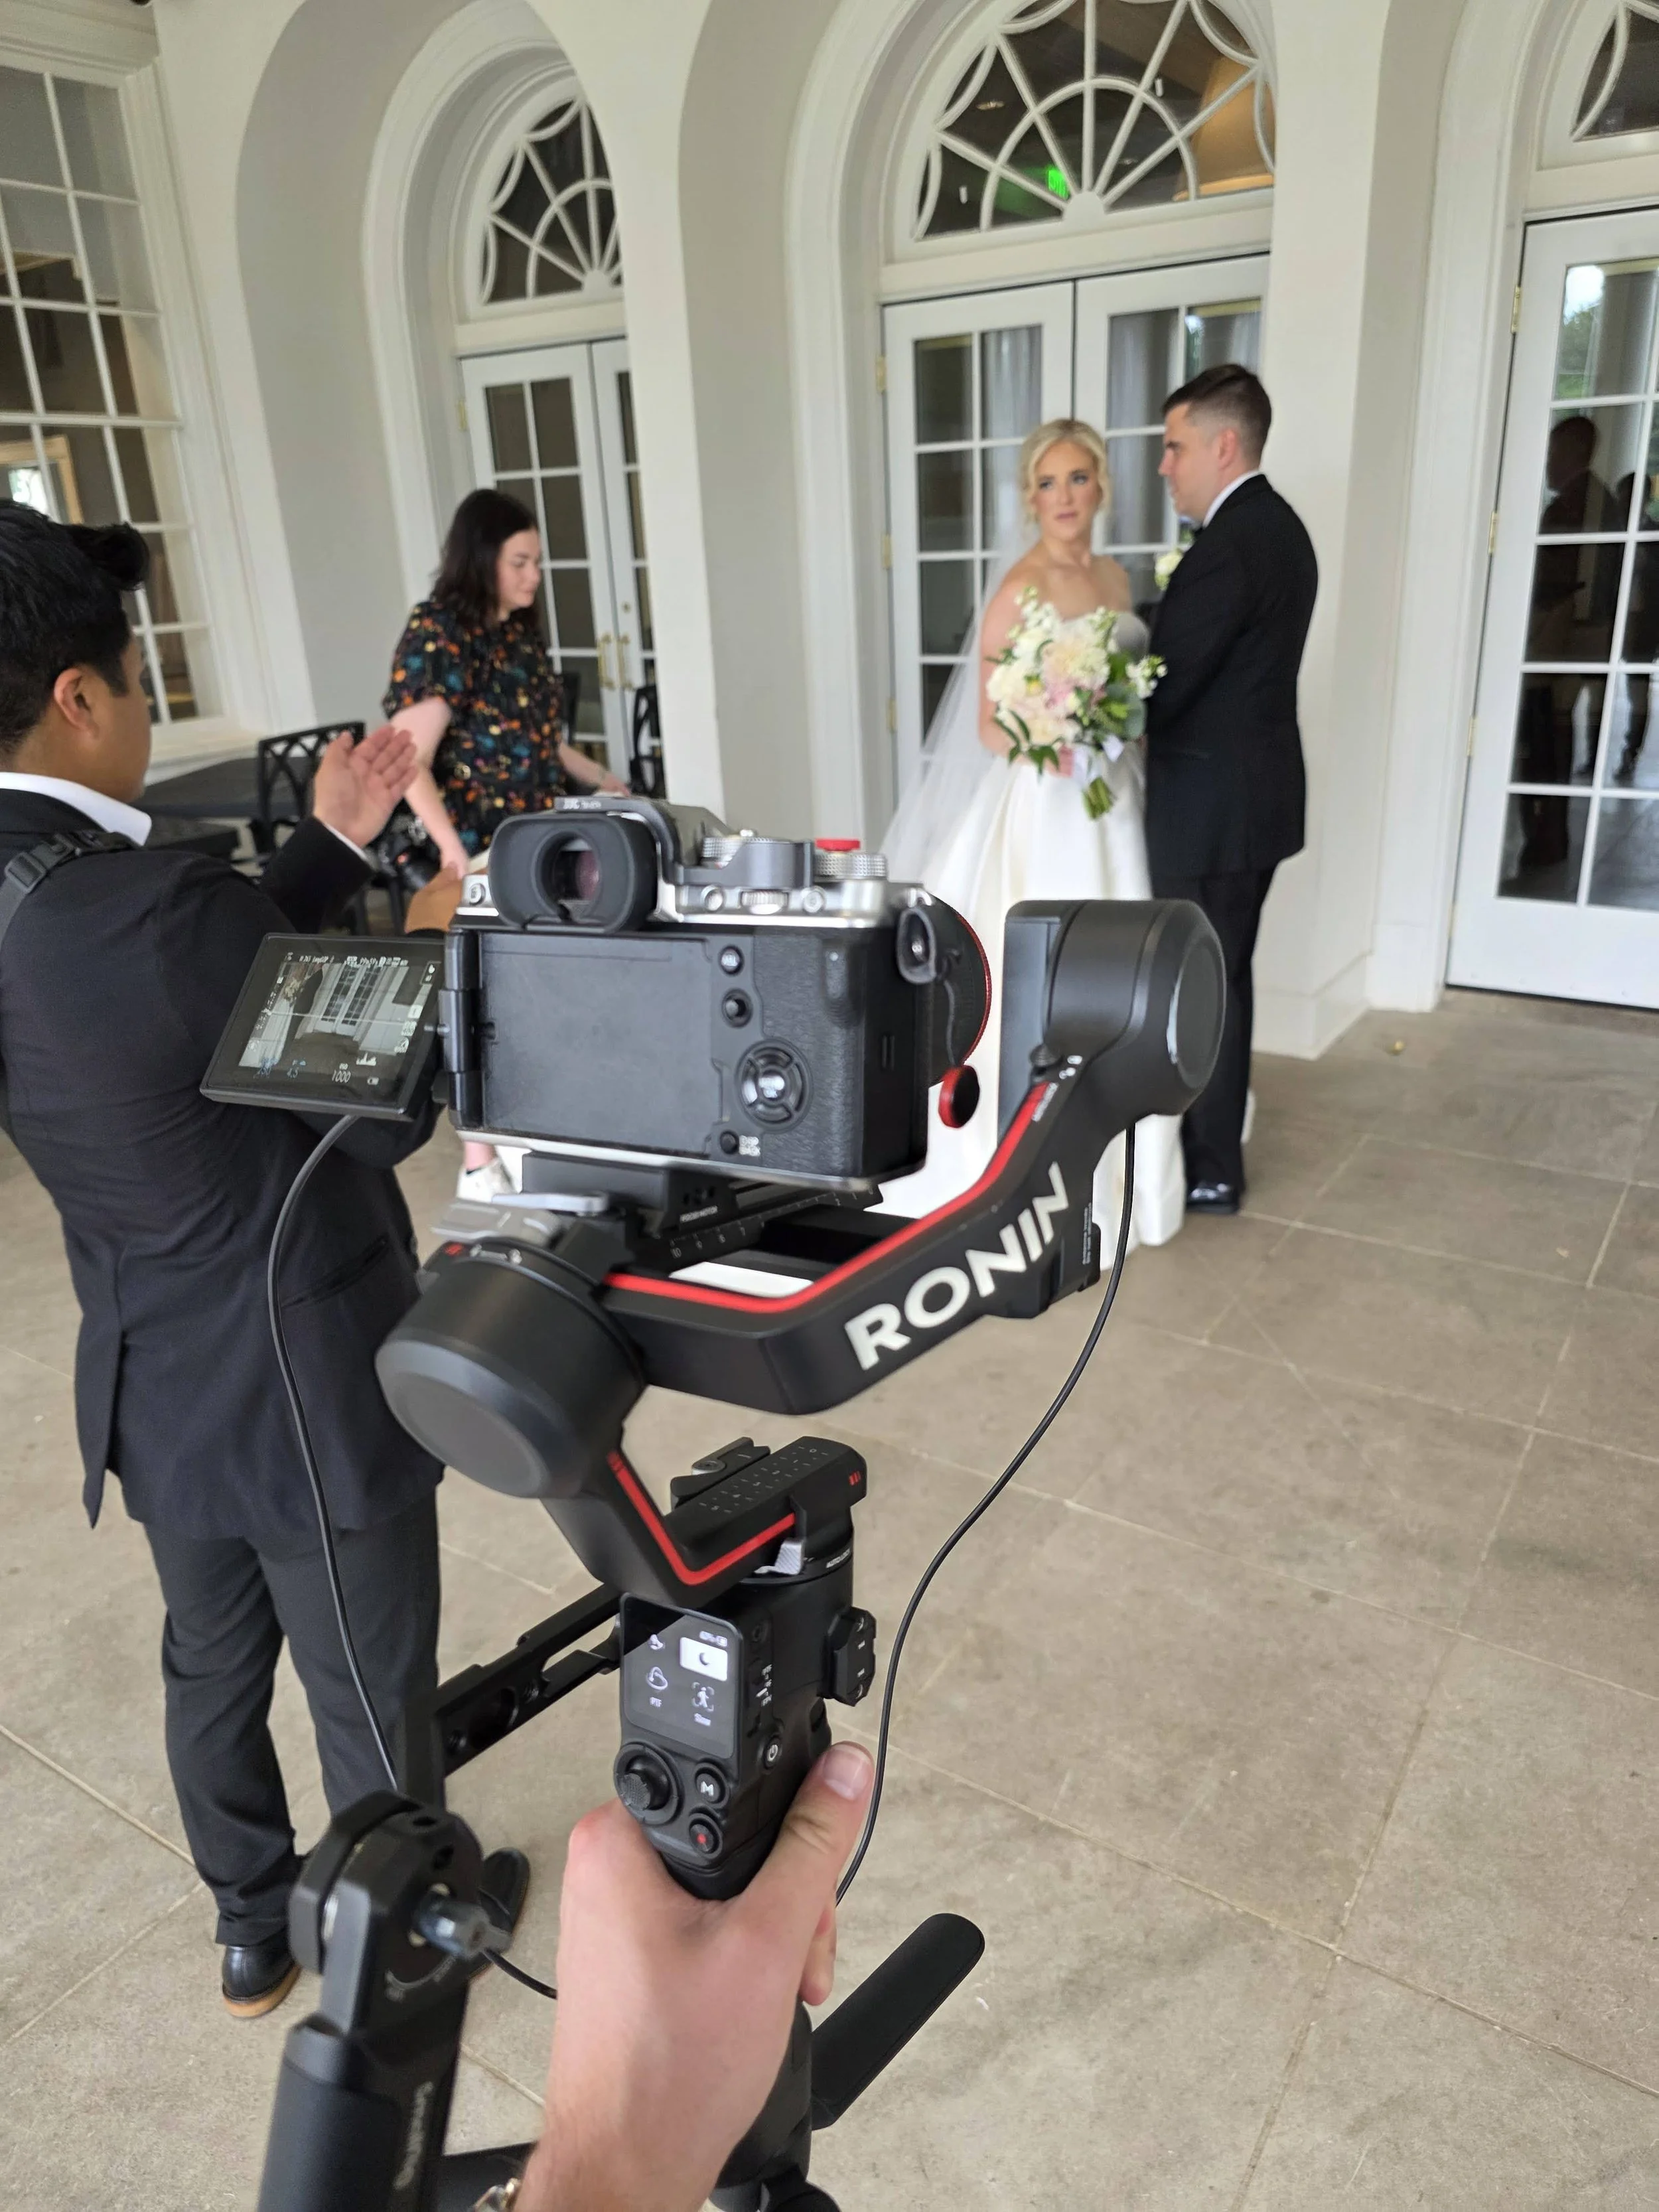
Handheld vs Gimbal: Why Your Wedding Film Needs Both
Handheld and gimbal shots each bring something different to a wedding film. In this post, I explain why I use both styles and how they work together to make your video smooth, emotional and cinematic.

The Blunder Years
I didn’t grow up thinking I’d be a photographer. It just kind of happened — one hand-me-down camera, a scratched sensor I definitely caused, and years of trial-and-error later. Somewhere between photographing cars at a dealership, shooting everything at f/1.8 on mission trips in the Dominican Republic, and eventually filming weddings, it turned into something real. This blog is me unpacking that — the stories, the mistakes, the good photos, the terrible ones I posted anyway — all of it.

How Much Should You Budget for a Wedding Photographer in 2026–2027?
Planning your wedding and wondering how much to budget for a photographer in 2026–2027? From intimate elopements to full-day celebrations, we break down real pricing, what you’re paying for, and how to choose a photographer who will capture every moment beautifully.

How Switching from Canon to Fujifilm Helped Me Fall Back in Love with Photography
I spent years shooting on Canon and slowly drifted into a version of photography that felt more like work than art. Then a conversation with my best friend Luke pointed me toward Fujifilm, and everything changed. Switching systems brought me back to the tactile, intentional side of photography that I had been missing for years. It helped me reclaim the joy of creating for myself, and reminded me why I fell in love with the craft in the first place.

Why I Use the DJI Osmo Pocket 3 for Wedding Films
The DJI Pocket 3 may be tiny, but it captures authentic dance floor energy. Learn how this pocket camera adds cinematic, candid moments to your wedding film.

Why I Use the DJI Mini 4 Pro for Wedding Films
Drone footage adds breathtaking perspective and context for telling the story of your wedding day. See how the DJI Mini 4 Pro helps me capture sweeping mountain vistas, city skylines, and glowing barns in real Southern weddings.

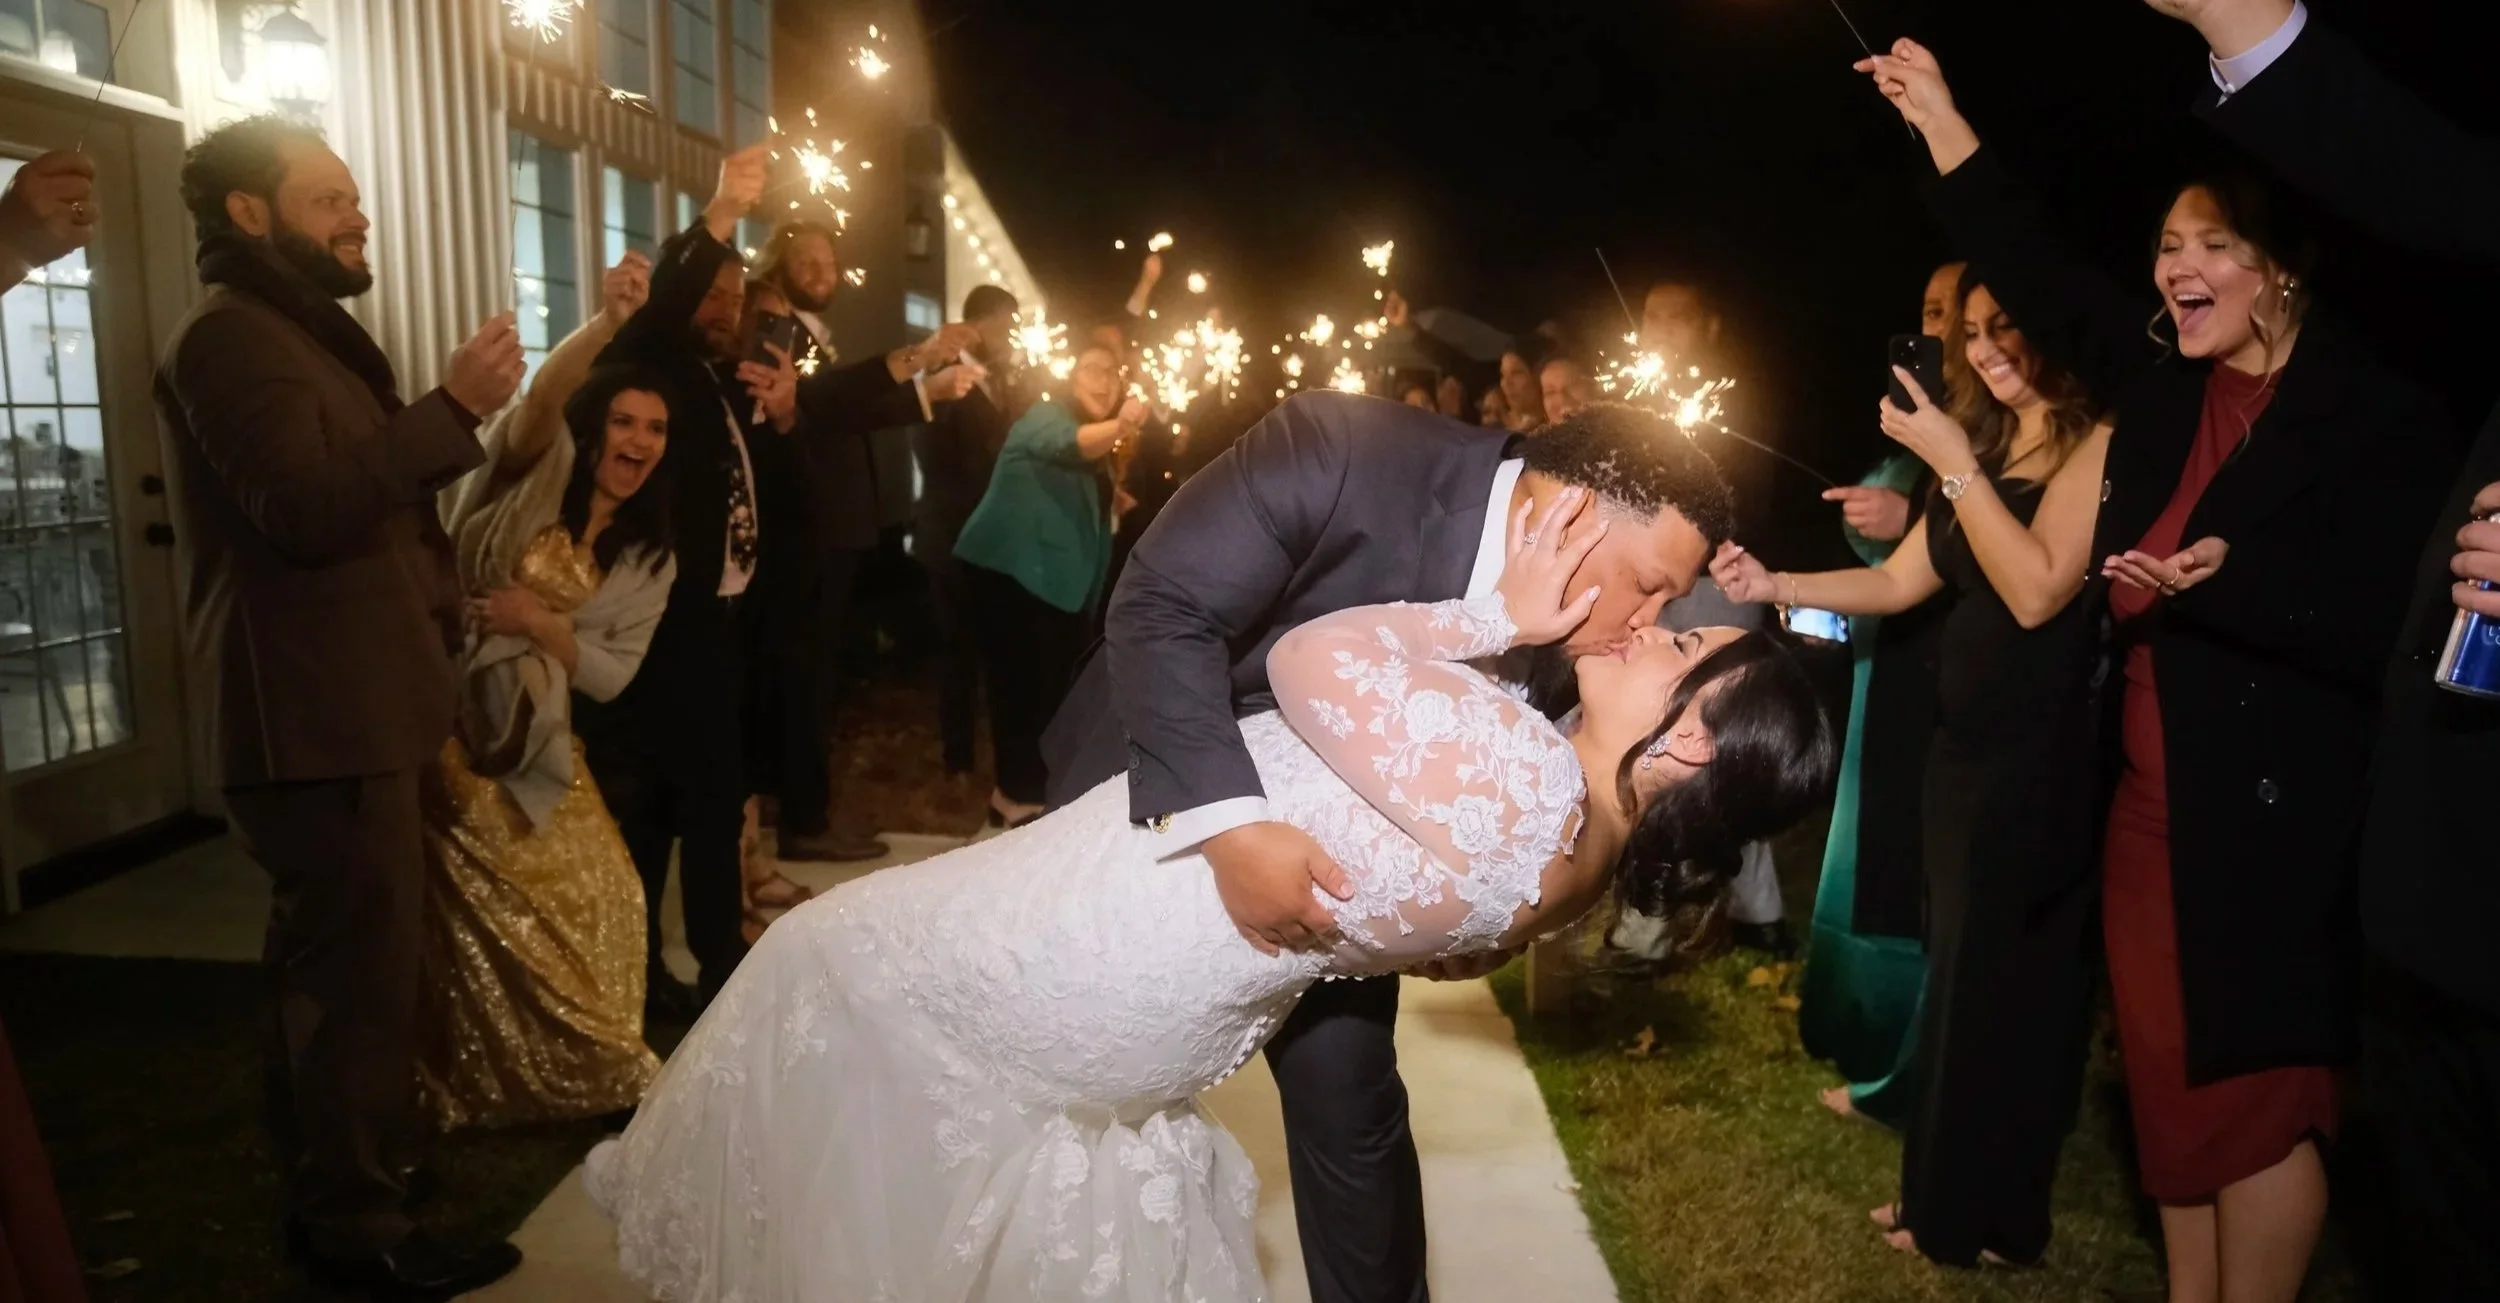
The Filmic Look in Wedding Photography & Video
What does “filmic” really mean? It’s more than a filter. Discover how timeless color, cinematic light, and aerial footage make your photos and films feel like a movie.

Documentary vs Traditional Wedding Photography: Which Style Fits Your Day
Should your wedding coverage be posed or candid? Learn the difference between traditional and documentary styles — and why the best films often combine both.

Why I Use the Fuji X-T4 for Wedding Photography
See why I trust the Fuji X-T4 as my main wedding camera. From true-to-life skin tones to low-light magic, it delivers a filmic, cinematic look brides love.